
Gasoline Cars
Troubleshooting guides for engine problems, transmission issues, and electrical system repairs
When you need to troubleshoot your vehicle, having the right diagnostic approach makes all the difference. Whether you're dealing with a mysterious check engine light, strange noises from under the hood, or performance issues that leave you stranded, learning to troubleshoot your vehicle effectively can save you hundreds of dollars in mechanic fees while building valuable automotive knowledge.
Our comprehensive guides help you troubleshoot your vehicle using a systematic approach that professional mechanics rely on. Start by identifying symptoms—does your engine misfire during acceleration? Is there a grinding noise when you brake? Does your battery keep dying overnight?
Once you've documented the symptoms, our diagnostic tools help you narrow down the root cause. The OBD-II error code lookup tool translates those cryptic check engine light codes into plain English, while our symptom-based checklists guide you through testing procedures for electrical problems, mechanical failures, and maintenance issues.
Learning to troubleshoot your vehicle isn't just about fixing today's problem—it's about understanding how your car's systems work together:
When you troubleshoot your vehicle using our guides, you'll learn which systems interact and how one failing component can trigger problems elsewhere. This knowledge helps you spot early warning signs before minor issues become major repairs.
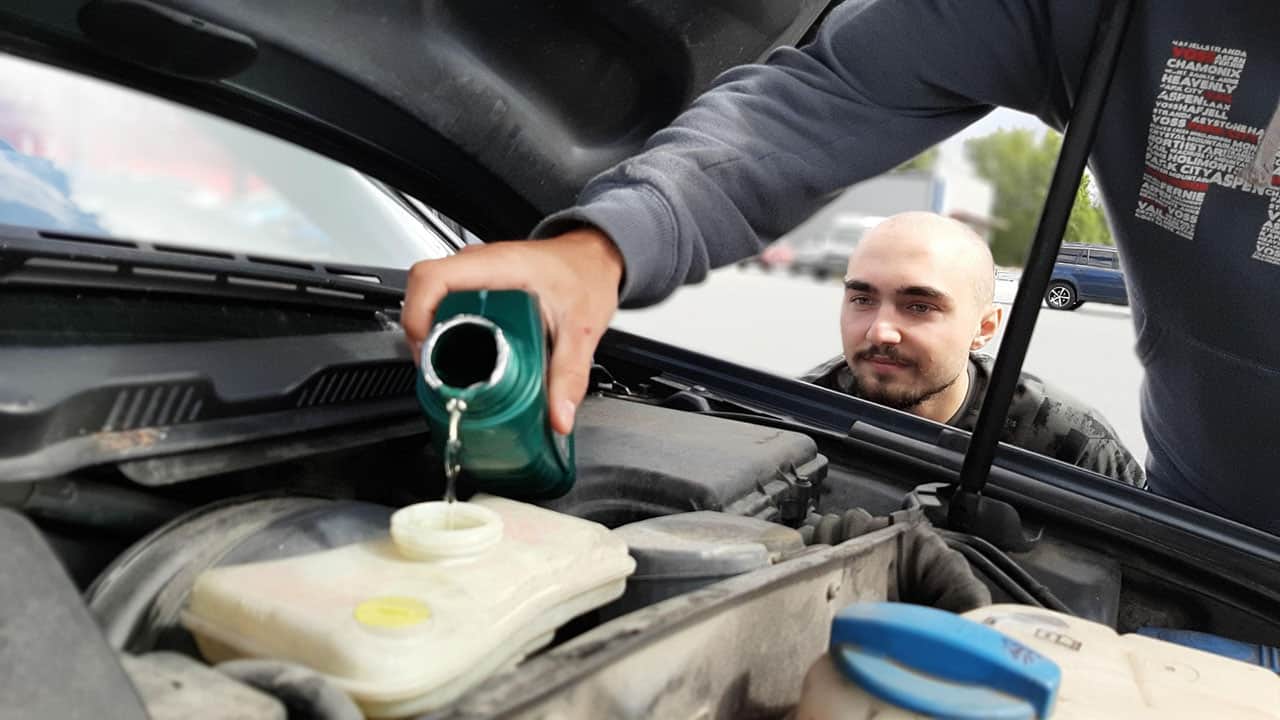
Every time you troubleshoot your vehicle, you gain confidence and save money. Our step-by-step repair tutorials cover common fixes like replacing brake pads, changing oxygen sensors, diagnosing alternator problems, and fixing vacuum leaks.
Each guide includes clear photos, a complete list of tools needed, safety precautions, and realistic time estimates. We also explain when a repair exceeds DIY capabilities and requires a certified mechanic—like transmission rebuilds, airbag system work, or complex engine diagnostics that need professional scan tools.
Whether you drive a Honda Civic, Toyota Camry, Ford Focus, or any other gasoline vehicle, you can troubleshoot your vehicle using our expert resources.
Our guides are written by Marlo Strydom, a DIY mechanic with over 15 years of hands-on experience fixing everything from starters to suspension systems. Join thousands of car owners who've learned to diagnose problems accurately, order the right parts, and complete repairs safely in their own garage or driveway.
Troubleshooting guides for engine problems, transmission issues, and electrical system repairs
Calculate MPG and fuel consumption to track your car's gas mileage performance

Look up check engine light codes and diagnostic trouble codes (DTC) with repair solutions
Step-by-step auto repair tutorials with photos, tools needed, and safety tips
Learn to fix brake problems, suspension issues, and common mechanical failures yourself
Symptom-based checklists for warning lights, odd noises, and performance issues to guide your next repair
Browse short, direct FAQs on diagnostics, engine issues, and maintenance.
Car Owners Helped
Typical Savings
Expert Guides
Expert Experience
Honda Civic Owner
"I was quoted $800 at the repair shop for replacing my alternator. Following these DIY guides, I completed the job myself using basic hand tools and a socket set. The step-by-step instructions with pictures made it easy, even as a beginner working on my Honda Civic for the first time."
Toyota Camry Owner
"My check engine light came on, so I used an OBD-II scanner to read the diagnostic trouble code. The code lookup tool showed me it was a faulty oxygen sensor (O2 sensor). I bought the replacement part online and installed it myself in my Toyota Camry's exhaust system using a wrench. Now the check engine light is off!"
Ford Focus Owner
"When my Ford Focus started idling rough, the symptom checklists helped me trace it to a loose vacuum hose. Now I use these guides to troubleshoot warning lights and noises before deciding if it needs a shop visit."
Marlo Strydom has over 15 years of hands-on experience working on cars, including engine repairs, brake jobs, and electrical system troubleshooting. As a car enthusiast who's fixed everything from starters to transmissions, he creates easy-to-follow automotive repair guides that help beginners and experienced DIYers diagnose problems and complete repairs safely.
Learn which repairs you can do yourself with basic tools and which need a certified mechanic. Each guide shows the cost of parts like spark plugs, brake pads, and batteries, plus estimated labor costs if you take it to an auto repair shop instead.
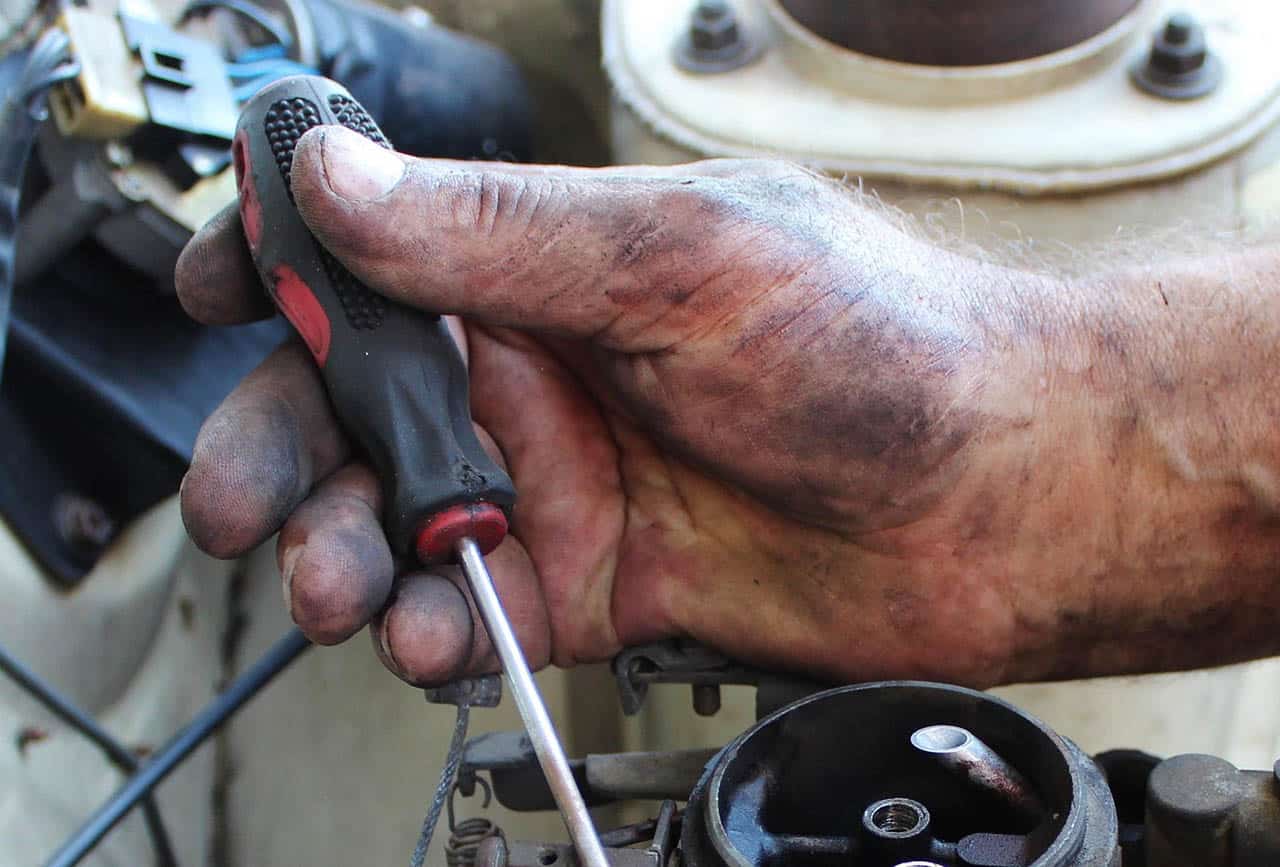
Easy-to-understand instructions with no technical jargon. Every repair guide includes detailed photos showing each step, a complete list of tools and parts needed (like wrenches, sockets, and screwdrivers), plus safety warnings about working with car batteries, hot engines, and jack stands.
Every guide emphasizes safety gear (like gloves and safety glasses) and proper procedures like disconnecting the car battery before electrical work. We clearly explain when a job needs a professional mechanic, especially for complex tasks like transmission rebuilds or airbag systems.
Build your automotive knowledge with our repair guides, symptom checklists, and diagnostic tools. Zero in on problems like engine misfires, battery drains, and brake squeals, then decide if you can fix it yourself or need a mechanic.
Use our car diagnostic tools and organized repair guides to solve your vehicle problems. Whether you have a warning light on, strange noises, or performance issues, we'll help you find the answer.
Use our OBD-II scanner code lookup tool to read and understand diagnostic trouble codes (DTCs) from your check engine light. Get explanations of what each code means and how to fix it.
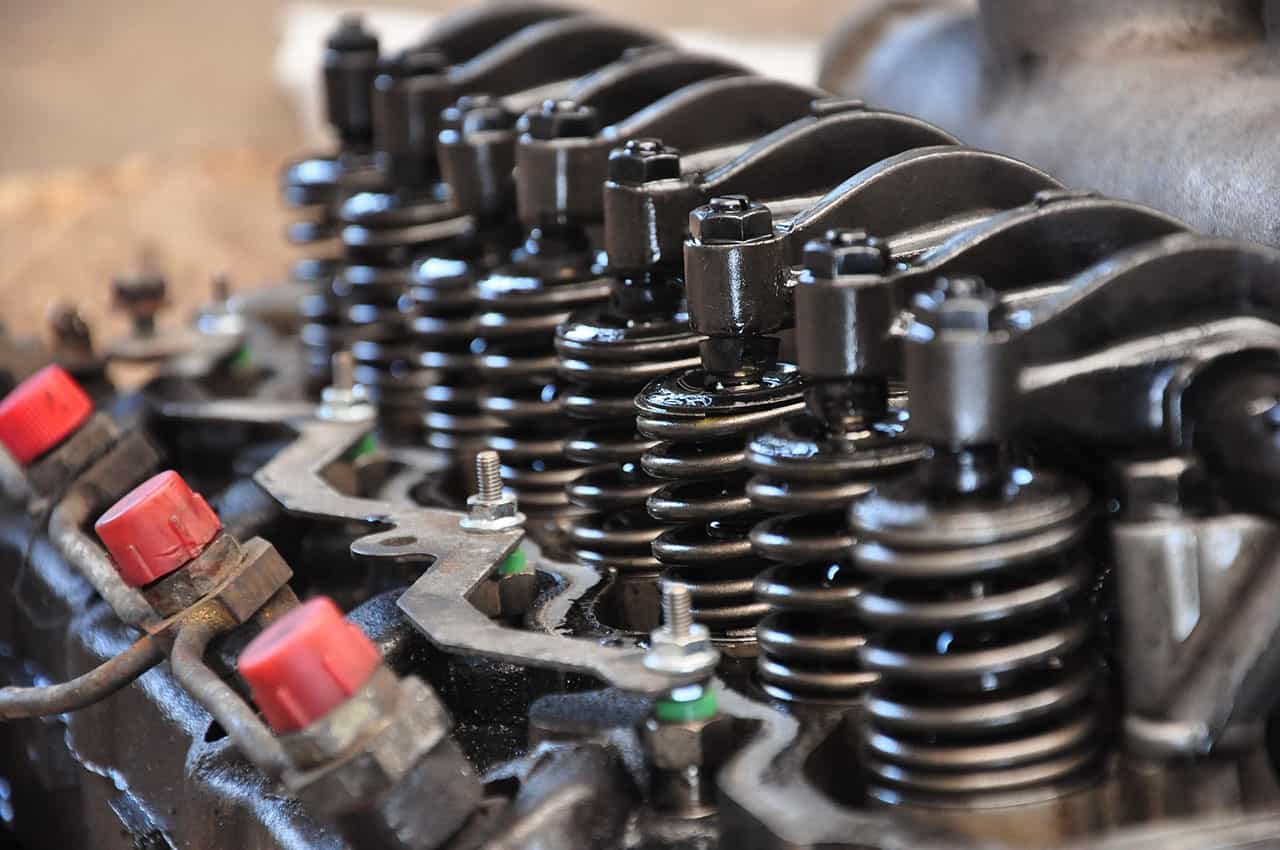
Explore repair guides organized by type: electrical problems (alternator, battery, starter), mechanical issues (brakes, suspension, engine), and common symptoms like warning lights, leaks, or strange noises.
Use the fuel-efficiency calculator to spot drops in MPG that point to issues like dragging brakes, bad spark plugs, or underinflated tires before they become costly repairs.
All guides are designed for DIY car owners and home mechanics. For complex repairs like transmission work, engine rebuilds, or airbag system repairs, always consult a qualified automotive technician or certified mechanic.