
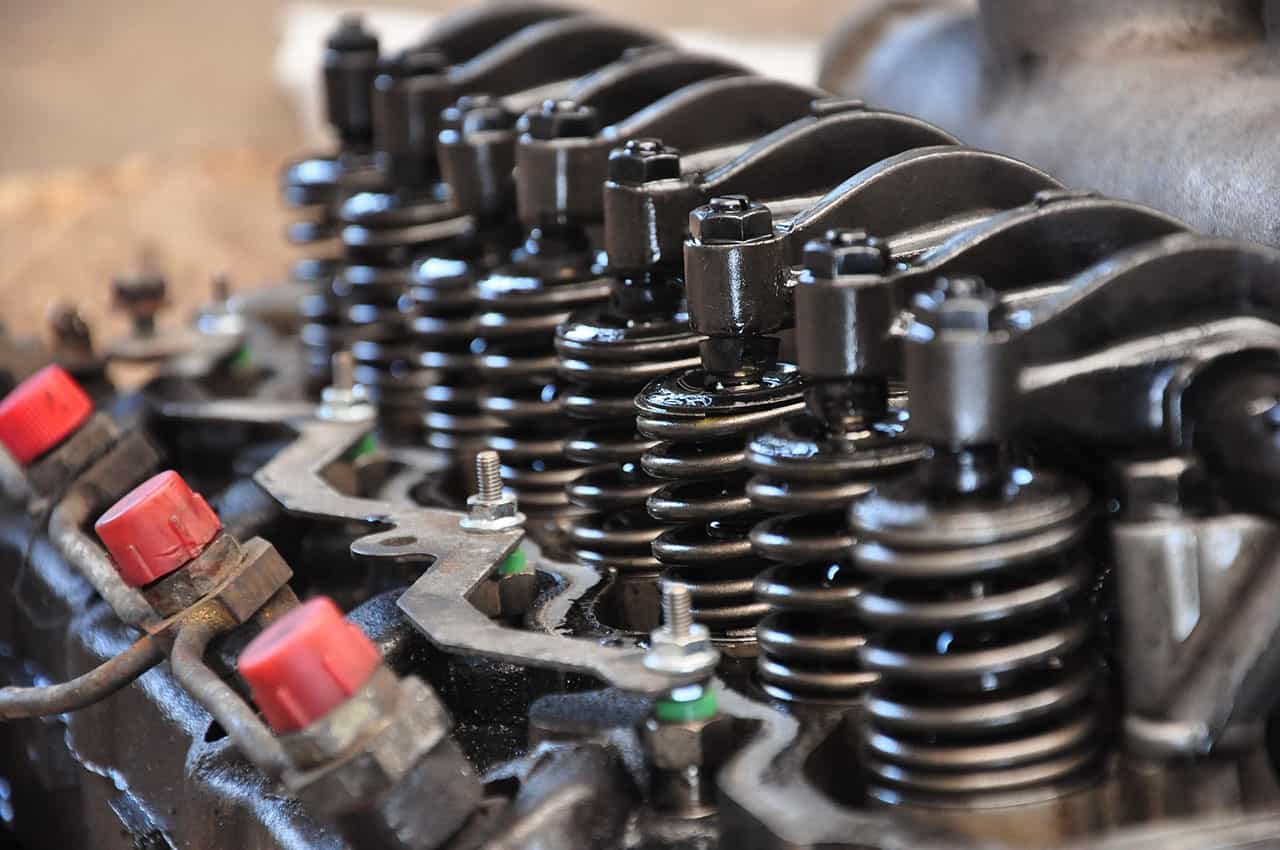
Gasoline Cars
Expert troubleshooting guides for gasoline vehicles
Expert troubleshooting guides for gasoline vehicles
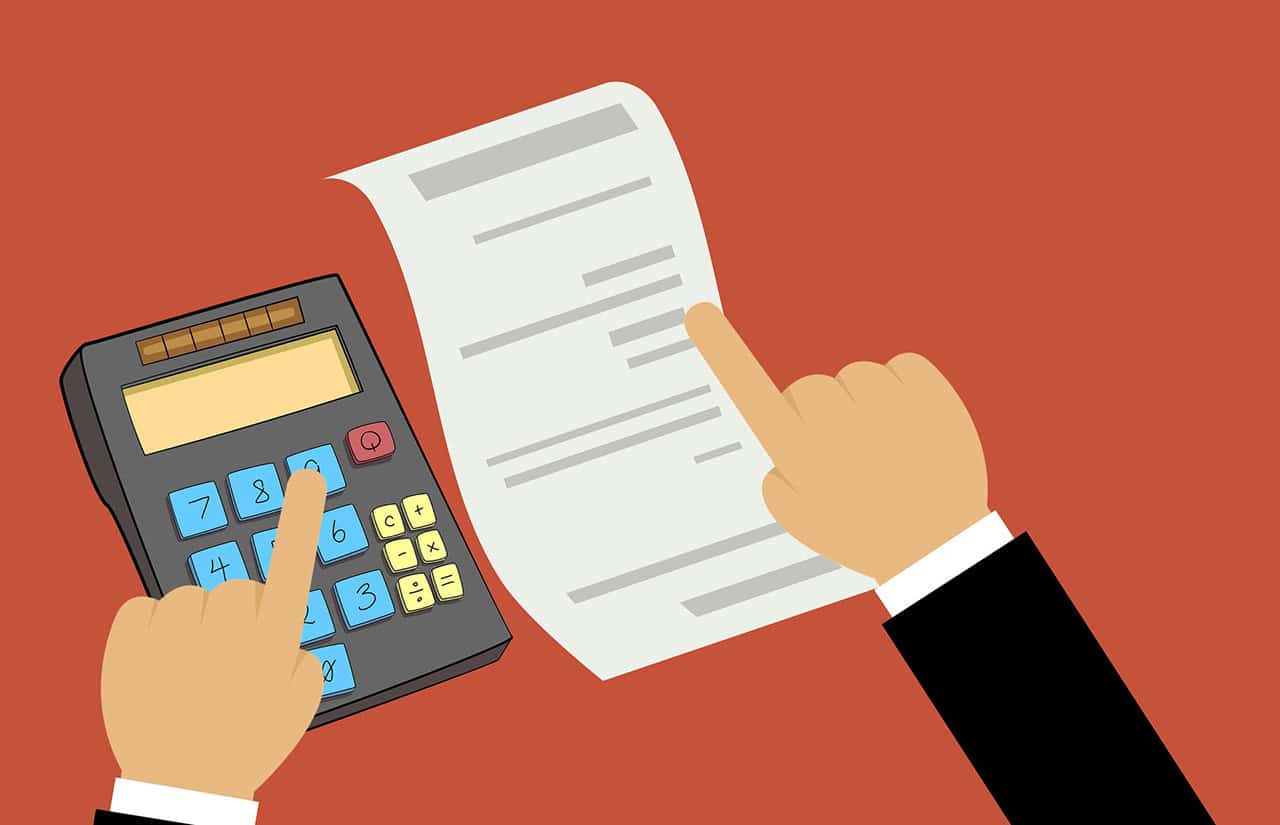
Optimize your fuel efficiency and track savings

Instant error code lookup with repair solutions
Professional repair tutorials that actually work
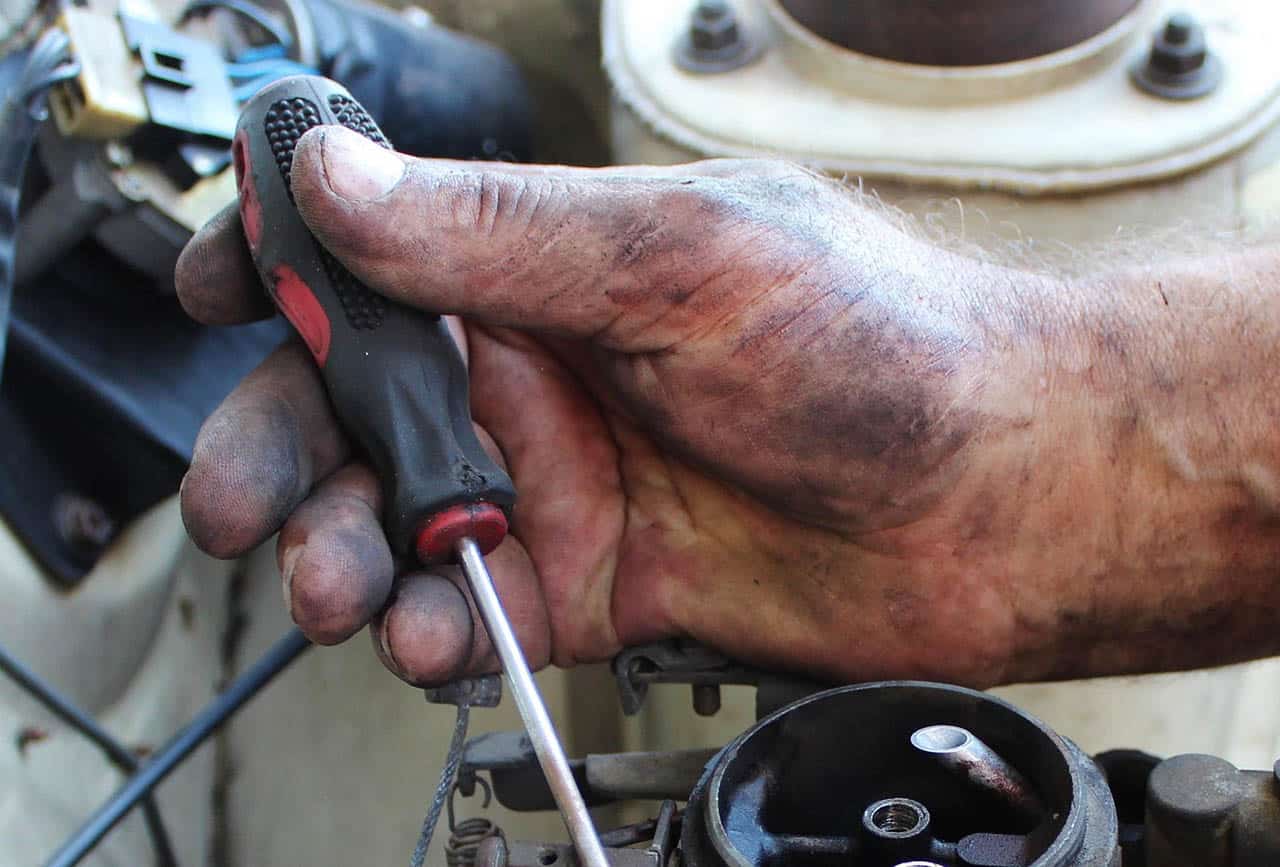
Learn to fix problems yourself - no mechanic needed
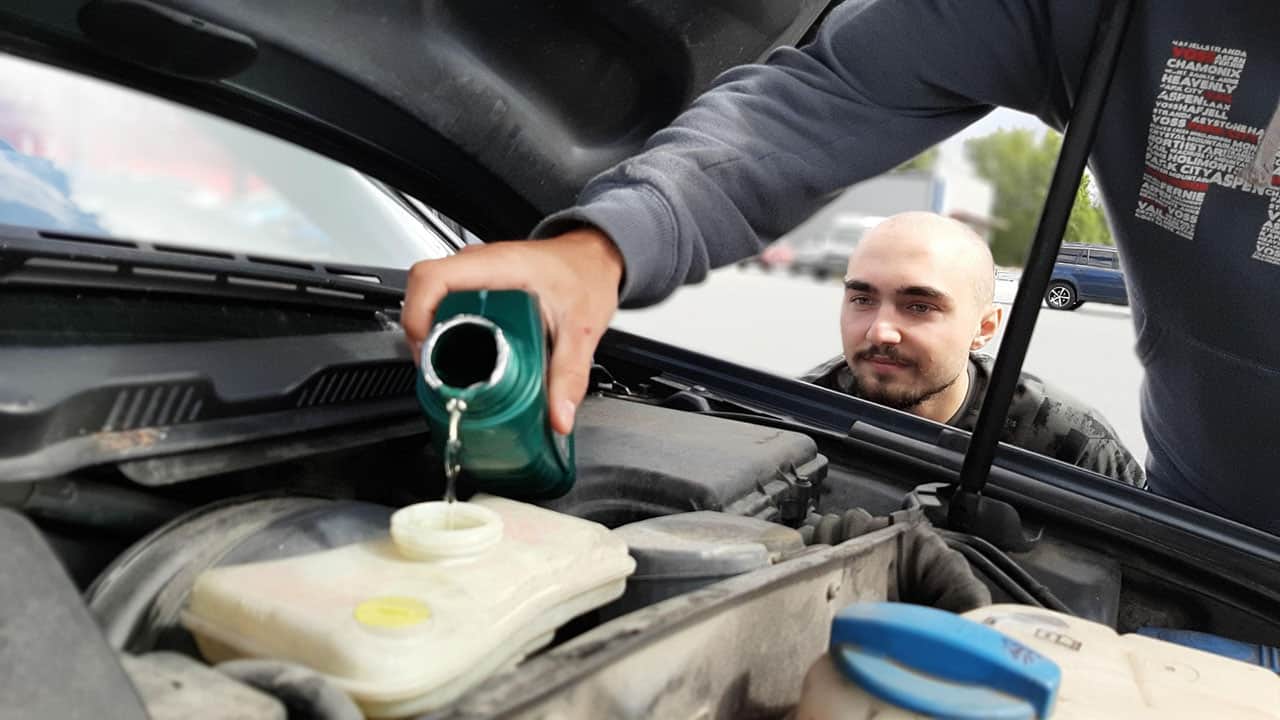
Prevent costly breakdowns with proper maintenance
Car Owners Helped
Typical Savings
Expert Guides
Expert Experience
Honda Civic Owner
"I was quoted $800 at the shop for brake replacement. Following Marlo's guide, I did it myself for $120 in parts. The instructions were so clear, even as a complete beginner I felt confident throughout the process."
Toyota Camry Owner
"The OBD-II code lookup tool and repair guide helped me identify and fix a faulty oxygen sensor. What would have been a $300 shop visit became a $45 DIY fix. These guides are worth their weight in gold!"
Ford Focus Owner
"These guides have made me so much more confident about car maintenance. I can now spot when mechanics are trying to upsell unnecessary services, and I handle most routine maintenance myself."
Automotive expert Marlo Strydom brings 15+ years of hands-on experience, from dealership service to independent repair shops. Every guide is tested in real-world conditions.
Our community has saved significant money on repair costs. Each guide includes cost breakdowns showing exactly how much you'll save versus shop prices.
No confusing jargon or missing steps. Our guides include detailed photos, tool lists, and safety warnings so you can work with complete confidence.
Every guide emphasizes safety procedures and clearly identifies when professional help is needed. We'll never recommend a repair that's beyond a DIY skill level.
Take control of your vehicle maintenance and repairs. Start with our expert guides or use our diagnostic tools to identify your specific issue.
Use our comprehensive resources to solve your vehicle problems step by step.
Use our OBD-II error code lookup to identify specific problems and get targeted solutions.
Explore our organized guides covering electrical, mechanical, and maintenance issues.
Calculate fuel efficiency and track your vehicle's performance with our helpful tools.
All guides are designed for DIY enthusiasts. For complex repairs, always consult a qualified mechanic.